The following is a graphic description of the requirements for platform scale welding inspection, covering key inspection items, standards and methods:
I. General requirements for welding inspection
II. 1. Inspection purpose
- Ensure welding strength, sealing and structural stability to avoid deformation or failure of the scale body due to welding defects.
- Comply with design drawings and industry standards (such as ISO 3834, GB/T 12467).
Cutting and bending
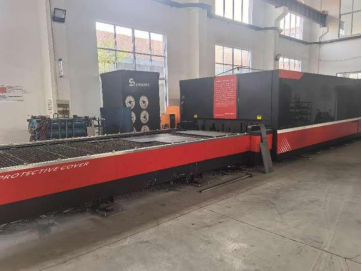
Use CNC laser cutting machine to cut the steel plates needed for manufacturing platform scales and U-beams to ensure the required accuracy of material size
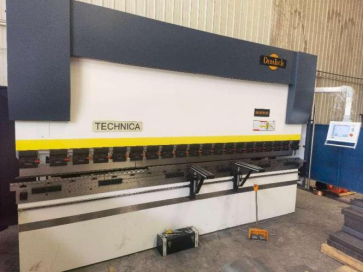
High-precision bending machine is used to ensure the dimensional accuracy of the U-beam
Welding steps
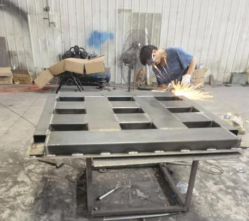
1. Assemble the steel structure of the scale platform and then clamp it to avoid deformation during welding.

2.After welding, clean the residual welding slag on the scale body and polish it.
ŃĆé
II. Key inspection items and methods
1. Appearance inspection of welds
- Standard requirements:
- The weld surface is free of defects such as cracks, pores, slag inclusions, and incomplete fusion.
- The weld is uniform and continuous, without undercuts, weld bumps, or excessive depressions (deep depression Ōēż 0.5 mm).
Inspection method:
- Visual inspection (use a 5x magnifying glass if necessary).
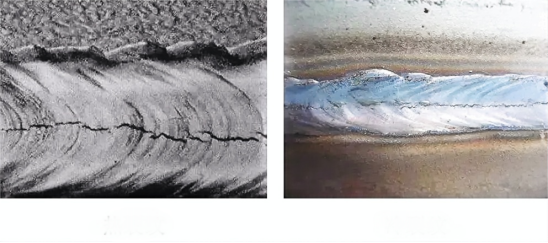
- Example:
Qualified weld: smooth surface without defects)


Unqualified welds: Porosity and cracks:

2. Weld size inspection
- Standard requirements:
- The height and width of the weld meet the requirements of the drawing (usually the height is Ōēź 80% of the thickness of the parent material).
- The size of the fillet weld leg is consistent, without leakage or over-welding.
- Inspection method:
- Use a weld gauge or caliper to measure
3. Nondestructive Testing (NDT)
- Applicable scenarios:
- Test key load-bearing parts (such as sensor supports and main beam connections).
- Standards and methods:
- Penetrant testing (PT): Detect surface opening defects.
- Ultrasonic testing (UT): Detect internal defects (such as pores and lack of fusion).
- Magnetic particle testing (MT): Applicable to welds of ferromagnetic materials.
---
4. Structural dimensions and geometric tolerances
- Standard requirements:
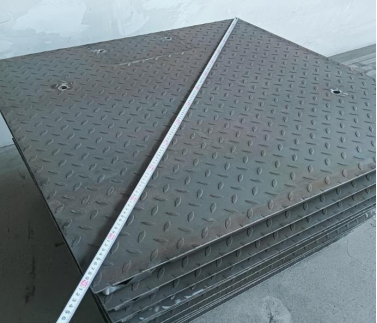
- The overall diagonal deviation of the platform scale is Ōēż2mm/m.
- The horizontal error of the support point is Ōēż1mm.
- Inspection method:
- Use a tape measure to measure.
5. Load test (final verification)
- Standard requirements:
- After loading the rated weight, the scale body has no permanent deformation and the weld has no cracks.
- Inspection method:
Load in stages to 150% of the rated load, hold for 10 minutes, and check the deformation after unloading.
III. Inspection records and reports
1. Record contents:
- Weld position, defect type, dimensional deviation, test results.
IV. Handling of common non-conforming items
- Minor defects: re-inspect after grinding and repair.
- Serious defects: cut off the weld and re-weld.


